I know, I’m getting way ahead of myself. I should be making pumpkin pies and complaining about the crust not turning out as flaky as I’d like it to, stuffing the bird, and pondering ways to upgrade the forever boring green bean casserole. And I am or will be doing that – with the exception of pumpkin pie, which nobody at our house is too fond of. I know, that’s so un-American… and rather surprising, too, because I literally adore everything pumpkin, soups, muffins, cakes, all but the actual pumpkin pie. I find it too wet and overly sweet, honestly a waste of the great pumpkin, which could be used in hundreds of other delicious ways. And since I’m in a confession mode – even our Thanksgiving will be very low-key. Yes, there will be cooking, because, well, with three constantly hungry men in the house there really isn’t a way to get out of that, but cooking aside, Thanksgiving to us is just another Thursday – with more food that is. And we sure are grateful for that 🙂
Mr. Photographer found the recipe for this cheesecake somewhere on the internet, and when I saw it, I immediately decided to heck with rules, I’m definitely not going to wait another month to make this beauty. Frankly, it might be a week before Thanksgiving, but when you look around in the stores, it’s beginning to look a lot like Christmas anyway. And with everything that’s been going on in the world around us lately, a little (or a lot!) of eggnog could go a long way to help us cope. Everyone fights his own way… my superpower is to bring people together with food, so that’s what I plan on continuing to do.
Making homemade eggnog is the easiest task of all… at least eggnog the Slovak way, which doesn’t require cooking. You simply whisk egg yolks with sweetened condensed milk and vanilla, and pour in a good rum. Done. The hardest part is the waiting afterwards, because it’s best to bottle the eggnog and let it sit for two weeks before serving. It thickens, the flavors will have chance to marry, and it’ll be absolutely delicious. Please don’t leave me over the irresponsible practice of consuming raw egg yolks – according to some statistics I found, if I eat three raw egg yolks a day (which I don’t), it would take me more than 27 years before I’d actually run across one with salmonella. I’ve decided the best things are worth the risk, and have been happily sipping on homemade eggnog for years. And in any case, we’ll be pouring the eggnog into the cheesecake filling and baking it, so any potential danger will be eliminated… along with the alcohol content unfortunately 🙂
So keep calm and have some eggnog – first in the cheesecake, of course, but don’t forget to pour yourself some in a glass, too. It might help you stay sane during the upcoming busy holiday season 🙂
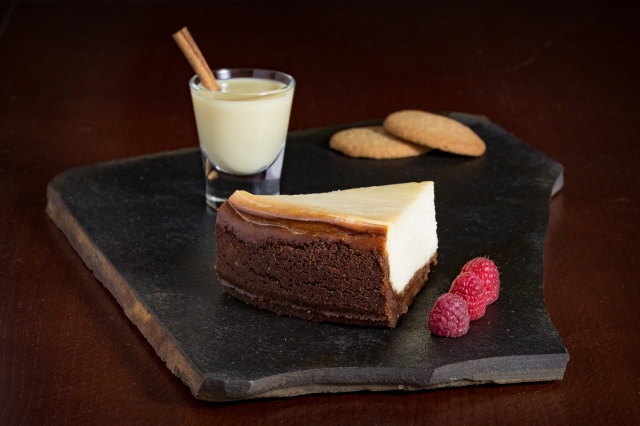
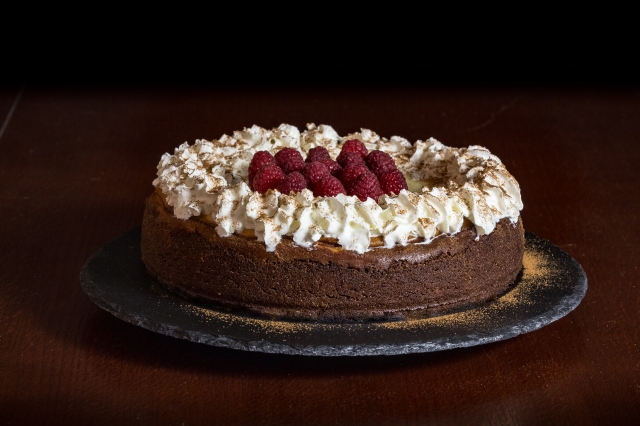
Eggnog Cheesecake with Gingersnap Crust
(adapted from http://www.rosebakes.com)
Homemade Eggnog:
- 2 cans (396 g, 14 oz. each) sweetened condensed milk
- 5 egg yolks
- 2 teaspoons vanilla extract
- 500 ml (2 cups, 16 oz.) good quality rum
Gingersnap Crust:
- 340 g (12 oz.) gingersnap cookies (I used gluten-free ones)
- 6 tablespoons (85 g, 3 oz.) unsalted butter, softened
- ¼ cup (55 g, scant 2 oz.) granulated white sugar
- ¼ teaspoon cinnamon
Cheesecake Filling:
- 4 bricks (8 oz., 225 g each) cream cheese, softened
- 4 eggs, room temperature
- 1¼ cups granulated white sugar
- 1¼ cups eggnog, see Note
- 3 tablespoons all-purpose flour (I used gluten-free flour mix)
- 1 teaspoon rum (or rum flavoring)
- ½ – 1 teaspoon cinnamon (to taste)
Method:
- To make the eggnog, whisk together sweetened condensed milk, the egg yolks, and vanilla. Pour in the rum and combine. (It is best to make the eggnog in advance and let it sit for 2 weeks so that it has time to thicken.)
- To make the crust, line a 25 cm (10 inch) springform pan with parchment paper and lightly butter the sides. Crush the cookies in a food processor and transfer them to a bowl. Add in the remaining ingredients and mix until the mixture is sticky and holds together. Press the cookie mixture on the bottom and up the sides of your pan. (I use a glass for this task – the crust looks nicer and “cleaner” this way). Set aside. Preheat the oven to 325 °F (162 °C) and place a pan with water on the bottom rack.
- Make the filling: In a large bowl, mix the cream cheese until light and fluffy. One by one, add in the eggs, mixing well after each addition. Pour in the eggnog and mix until smooth. Add the remaining ingredients and combine.
- Pour the filling onto the crust in your pan and smooth out the top. Bake the cheesecake for 1 hour and then turn the oven off and crack the oven door. Let the cheesecake in the oven for 1 additional hour and then take it out and let it cool completely before chilling for at least 6 hours.
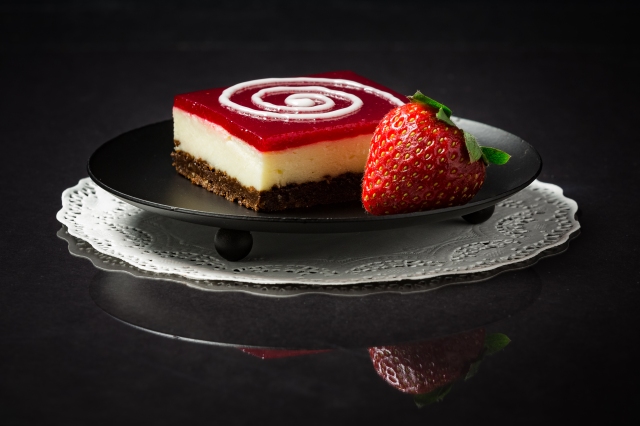
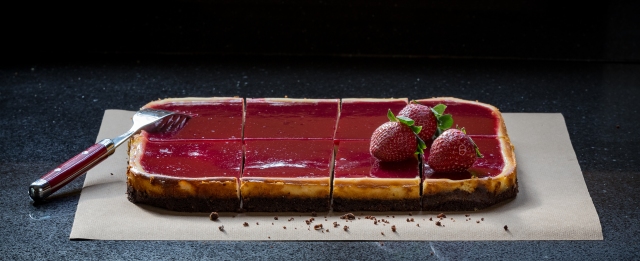
- Decorate the cheesecake with whipped cream, ground cinnamon, chocolate shavings or fruit and serve.
Note:
My eggnog was not as thick as I would have liked, so I reduced its amount to 1 cup only, and it worked well. See how thick/thin your filling is and make adjustments as needed.
Try not to overmix the cheese filling – if you do, there will be too many air bubbles in the filling, and the cake puffs up too much when baking and then falls when it cools. The dreaded cracks might also develop on the surface. The water in another pan in the oven as well as gradual cooling of the cheesecake in the oven might help to prevent them, but if you end up with cracks in your cheesecake, don’t lose heart: you can repair it with hot water and an offset spatula, and there are many ways to cover them too – you may mix up some dark chocolate ganache glaze and pour it over the top, or just pile up fresh fruit on the cheesecake. Cracks or no cracks, the cheesecake is going to be delicious!